1. handling very large images
I said on the last slide that the smaller images are, the better. But sometimes this is impossible or inconvenient. You may need to show a lot of detail, for example, as the informational content of the image depends on it (the map of South America a few slides back was recognisable as that continent but not much detail really came out). Or you may want to show a good digital photograph in all its glory, as compressing any image will usually reduce quality. And even if you do get your images down to a good size, a dozen or more 100 Kb images is still a lot to download.
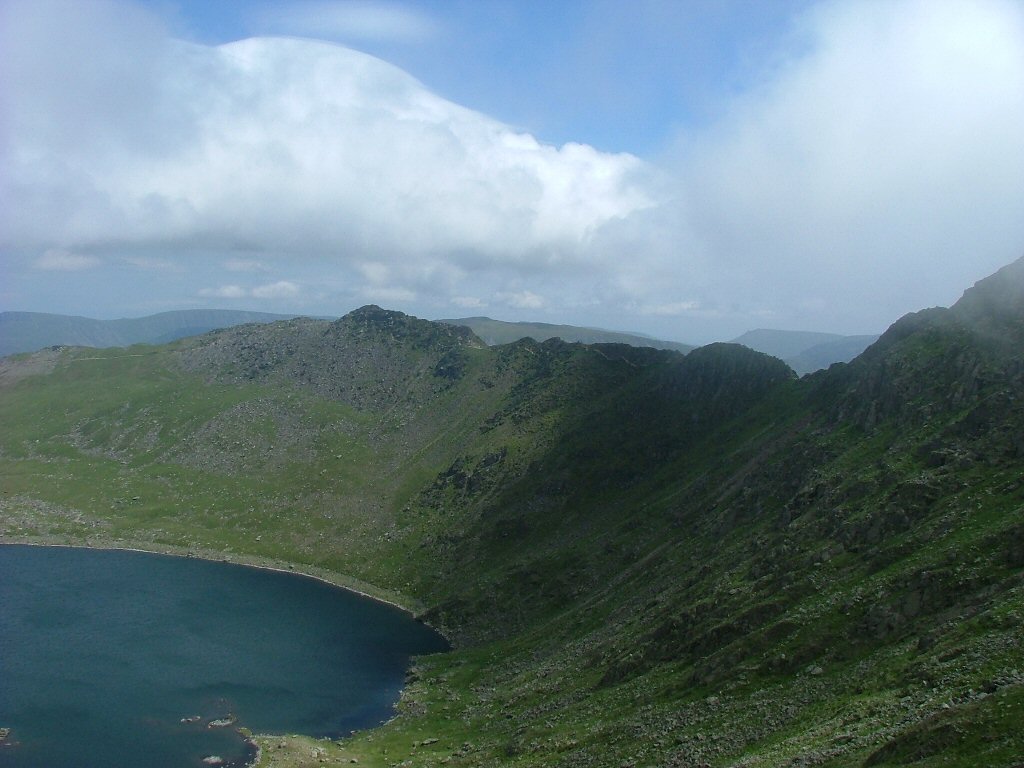
A way round this is to present a "taster" of the image. This is a smaller version which acts as a link to the larger so people can choose whether or not to spend time downloading the larger image. Here is an example:
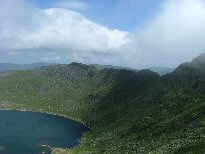 View of Red Tarn, Helvellyn, Lake District
Click to see full image (127 Kb) Note the use of a caption telling the reader the image is a link and how large the full image is.
For full details on how to work with thumbnails see the page in the online teaching materials.
|
2. alt attributes and captions
It is very important that you remember that not everyone will see the images on your page. This will probably be for one of two reasons (assuming that you have coded your page properly of course):
- the connection between their computer and the web server has broken for some reason - the downloading of images takes up the majority of browser time so if this ever does happen it is most likely to do so before all images are loaded
- they use a browser which does not handle images either through their own choice (it speeds up browsing considerably) or because they have special needs (e.g. they are blind).
Next week's lecture talks about accessibility in detail, but there is one thing you must do with images that helps out here. This is to use the alt attribute. These are obligatory in XHTML 1.0. The tag which rendered the image on the left, for example, was:
<img src="helthumb2.jpg" alt="Thumbnail: Red Tarn" />
Internet Explorer will render alt attributes as "floating captions" which appear when the cursor is over the image (try it) but other browsers will not so do not depend on the alt to pass on important information about the image. Mozilla and Opera only display the alt if the image does not appear for any reason. If it matters, give the image a caption as well as an alt.
This particularly applies if the image is being used as a link (as the Helvellyn image is). For more details see the page on using images as links which you should read after this lecture.
|