Web Design |
thumbnails |
||||||||||
main menushelp pagesprinter-friendly/text-only version
|
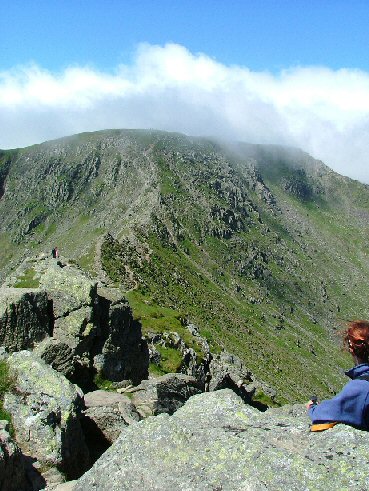
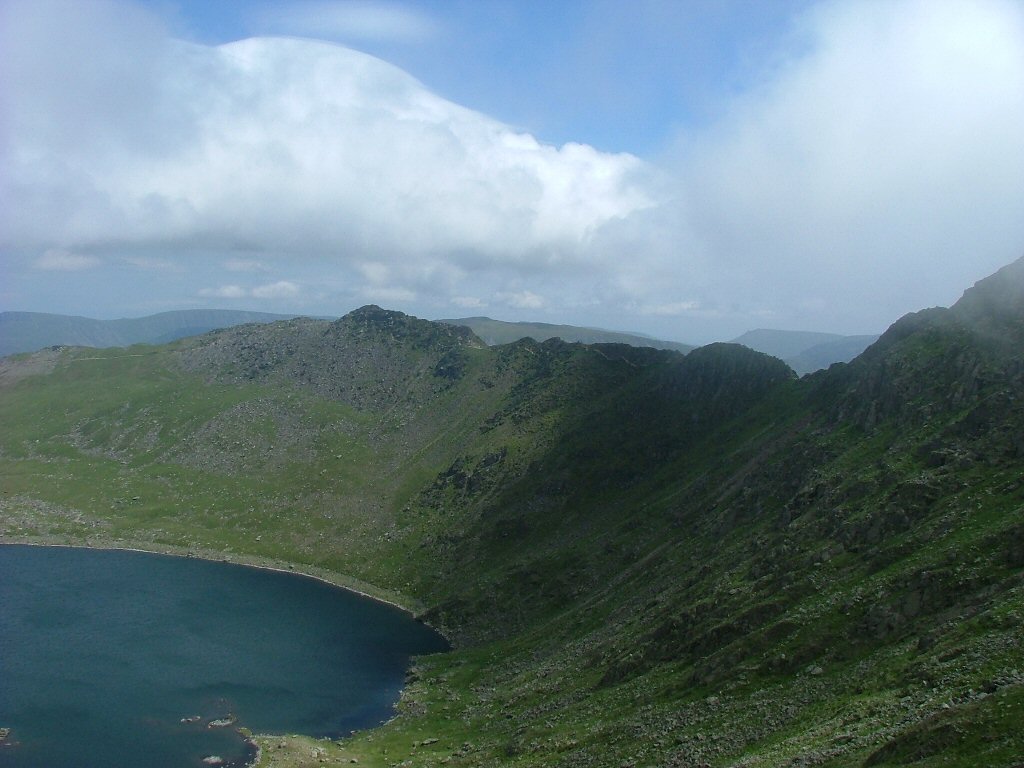
This is not a page about manicures. "Thumbnails" is the name for the technique of putting smaller versions of images on pages, and making them links to larger versions of the image. Why do this? Because, as has been pointed out in some of this lesson's other pages, the time spent downloading images can amount to 90% or more of a web browser's time (and telephone bill). As a common use of web pages is to present a "gallery" of many images (no smutty remarks about porn, please), it makes sense to find some way to reduce download time in this instance. 50 Kb may be a fair size for an image (see the page on image size), but if there are thirty of them on a page, that's a long wait to see them all. A thumbnail is a smaller version of an image, presented as a "taster". If the thumbnail is made into a link to the larger image, the user can choose whether or not to download the full image. Both the images here are used this way.
What you need to do is create a copy of the larger image, load this copy into a graphics application, shrink it, and resave it as the smaller thumb, with a different file name. Look at the code which has produced the two thumbnails above:
<a href="helvellyn1.jpg"> The smaller images on this page are called helthumb1.jpg and helthumb2.jpg; the larger, original images are helvellyn1.jpg and helvellyn2.jpg. Apart from the fact they've got the same basic content, they are in fact entirely separate files. It may be more helpful to see an example of this technique in action. The following link will take you to a site which uses thumbnails to show off its gallery of pictures of Scotland. It's not the greatest-designed site in the world, but it shows the use of the technique, and it does have some pretty good photos on it. As usual, the site will open in the second browser window. | ||||||||||
Material on this site is © Drew Whitworth, 2005 Permission will usually be given to reproduce material from this site for non-commercial purposes, if credit is given. For enquiries, e-mail Drew at andrew [dot] whitworth [at] manchester [dot] ac [dot] uk.