lecture menu |
lecture 7: preparing the image
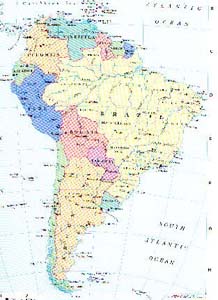
Remember the analogy of the transparency. The image "underneath" the transparency is not where the links, or hot spots, are defined. The "transparency" is associated with the image, but is essentially separate from it. What we need in the image is a way of pointing to the associated transparency, or map. This is similar to how we associate a style sheet with an HTML file by pointing to it, except here the map is included within the same HTML file, not in a different file. The association is made by including an attribute, usemap, within the <img> tag. usemap takes a value of the name of the map which we want to use. It's similar to an anchor link - the link defines where you are pointing, and a separate tag defines the name of that point. Here are the additions made to the code to associate the image above with a map: <img src="samerica.jpg" alt="A map of South America" height="300" width="218" usemap="#samerica" /> this points to... <map name="samerica"> ......... </map> Between these opening and closing <map> tags comes the information about where to draw the hot spots. This is described on the next slide. The <map> tags can be located anywhere in the page body, although in practice they are usually placed either near the image to which they refer or at the very end of the file (but before the </body tag). More information on the usemap attribute and the <map> tag come in this lecture's online teaching materials. |