lecture menu
lecture 7: image maps
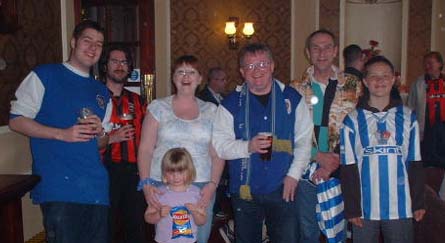
How, then, do image maps work? The best analogy is the idea of a transparency which lays over an otherwise ordinary image. The image on the previous page, shown again below, is rendered with an <img> tag in the same way as usual. (There is one small difference though - which we will cover on the slide entitled preparing the image.) If I wanted to use this image as a single link I would enclose it in an <a> tag, and that would be the end of it. But when I want to use the image for multiple links, I must define the links somewhere else.

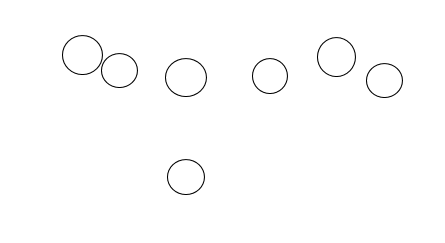
The links are created not in the usual fashion, but defined in a "map". This map works like a transparency which lays over the image, and on which "hot spots" - activated portions of the image - are "drawn". Imagine, for example, that the image below represents such a transparency. Each of the circles is a "hot spot" - and can potentially be turned into a link to destinations quite separate from the other circles.

The circles on this map correspond to each person's face in the image above. (Take my word for it!) If, using HTML, we effectively laid the "active" map over the "passive" image, the end result would be to make it appear as if each face acted as a link to a different destination.
This was a hypothetical example - on the next few pages we will be seeing plenty of real image maps in action, and will discuss how you can set these up yourself.
